> For the complete documentation index, see [llms.txt](https://docs.optis.me/llms.txt). Markdown versions of documentation pages are available by appending `.md` to page URLs; this page is available as [Markdown](https://docs.optis.me/swatch/variant-display/custom-swatch.md).
# Custom swatch
{% hint style="success" %}
**Available on:** Product page, Collection page
{% endhint %}
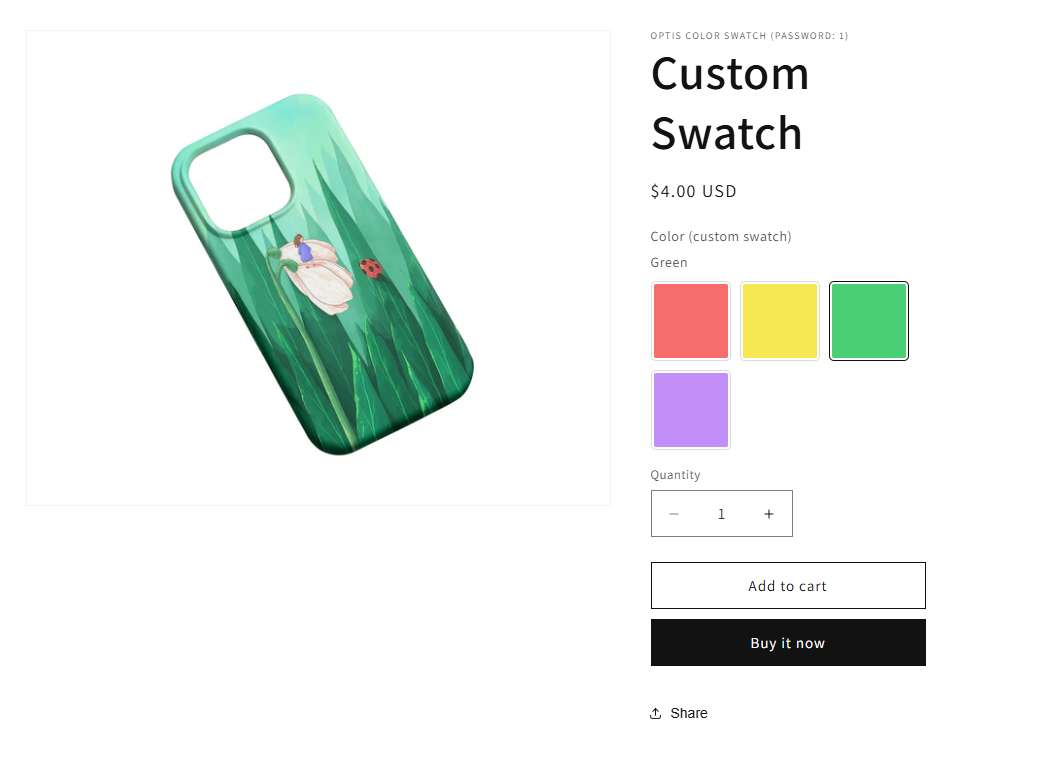
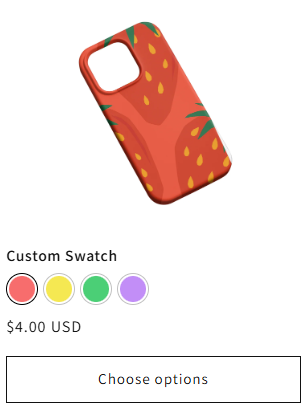
✨Demo product: [Custom swatch](https://optis-color-swatch-variant.myshopify.com/products/custom-swatch?pr_prod_strat=collection_fallback\&pr_rec_id=a9de6891c\&pr_rec_pid=8274609307785\&pr_ref_pid=8274596233353\&pr_seq=uniform) (password: 1)
### **Function**
Allows you to manually assign a custom image or a solid color (hex code) to each variant, instead of using the product images.
### **Use when**
* Variants already have images in Shopify **but you don’t want to use those images as swatches**.
* You want swatches to show **patterns, textures, materials, or plain colors** rather than full product photos.
### **How to use Custom Swatch**
{% stepper %}
{% step %}
#### Change the display type to Custom swatch > Click Save
{% endstep %}
{% step %}
#### **Click the pencil icon to:**
* Upload your own images (patterns, textures, fabric details, etc.)
* Select a solid color using a **hex color code**
{% endstep %}
{% step %}
#### Click Save to apply changes
{% endstep %}
{% endstepper %}
### **How it looks on your store**
* Product page:
* Collection page: